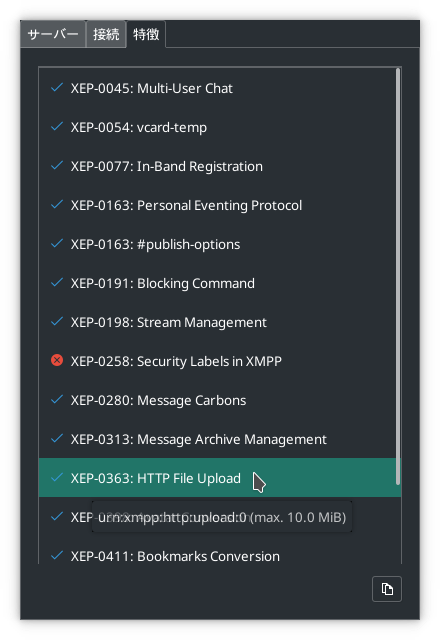
XMPPサーバーを設置するなら、Prosodyは一番大人気ですね。
でも、すぐファイル転送機能性を使えないと気づきました。
ネットで、機能性を有効にする方法は殆どないんです。
日本語のネットも英語のネットもありません。
でも、あたしは有効ように出来ましたので、本日は説明してみます。
「ドメイン」と見たら、自分のドメイン名(例:tatoe.jp)に変えてください。
コマンドライン
まずはmercurial(gitみたいなバージョン管理ソフト)をインストールすると、「prosody-modules」ってレポジトリーを受け取ります。
まだやらなかったら、SSL証明書を申請します。
apt install mercurial && cd /usr/lib/prosody && hg clone https://hg.prosody.im/prosody-modules/ modules-extra
certbot certonly -d ドメイン -d upload.ドメイン -d chat.ドメイン -d proxy.ドメイン --deploy-hook "prosodyctl --root cert import /etc/letsencrypt/live"
Prosodyのコンフィグファイル
次は、「/etc/prosody/prosody.cfg.lua」ファイルを編集して下さい。
「modules_enabled = {」で、まずは「http_upload」を無効様にします。
        -- HTTP modules
                "http";
                "bosh"; -- Enable BOSH clients, aka "Jabber over HTTP"
                "websocket"; -- XMPP over WebSockets
                --"http_files"; -- Serve static files from a directory over HTTP
                --"http_upload"; -- Enables file sharing between users
...
プラグインパスで
-- Prosody will always look in its source directory for modules, but
-- this option allows you to specify additional locations where Prosody
-- will look for modules first. For community modules, see https://modules.prosody.im/
--plugin_paths = {}
plugin_paths = { "/usr/lib/prosody/modules/", "/usr/lib/prosody/modules-extra/"  }
HTTPで(なければ、「log = {」の前に貼って下さい)
-- HTTP
https_ports = { 5281 }
https_interfaces = { "*", "::" }

cross_domain_bosh = true
consider_bosh_secure = true

http_paths = {
  register_web = "/register-on-$host";
  bosh = "/http-bind"; -- Serve BOSH at /http-bind
  files = "/"; -- Serve files from the base URL
}
http_host = "ドメイン"
http_default_host = "ドメイン"
http_external_url = "ドメイン"
trusted_proxies = { "127.0.0.1", "::1", "192.168.1.1", }
SSL証明書で
-- HTTPS currently only supports a single certificate, specify it here:
https_certificate = "/etc/prosody/certs/ドメイン.crt"
https_key = "/etc/prosody/certs/ドメイン.key"
VirtualHostで
----------- Virtual hosts -----------
-- You need to add a VirtualHost entry for each domain you wish Prosody to serve.
-- Settings under each VirtualHost entry apply *only* to that host.

VirtualHost "ドメイン"
        disco_items = {
            { "upload.ドメイン" };
        }
        legacy_ssl_ports = { 5223 }
Componentで
------ Components ------
-- You can specify components to add hosts that provide special services,
-- like multi-user conferences, and transports.
-- For more information on components, see https://prosody.im/doc/components

...

Component "upload.ドメイン" "http_upload"
        http_upload_file_size_limit = 209715200 -- 200 MiB
        http_upload_quota = 2097152000
        http_max_content_size       = 209715200
        http_external_url = "https://upload.ドメイン:5281/"
        http_upload_path            = "/var/lib/prosody/files"
        legacy_ssl_ports = { 5223 }

Component "proxy.ドメイン" "proxy65"
        proxy65_address = "ドメイン"
        legacy_ssl_ports = { 5223 }
Nginxのコンフィグファイル
最後はnginxのコンフィグファイルです。
「/etc/nginx/conf.d/prosody.conf」というファイルを開いて:
location /upload {
    proxy_pass http://localhost:5000;
    proxy_set_header Host "upload.$host";
    client_max_body_size 200M;
}
サービスの再起動
勿論、サービスの再起動は必要となります。
systemctl restart prosody nginx

以上
匿名自営業076の設立者
ページのGitリポジトリ